
(Disclaimer: This page contains Amazon affiliate links. If you make a purchase from one of the links, Habitot will earn a small commission at no extra cost to you.)
Open-ended play with shaving cream is a sensory learning activity all by itself. Here are some ideas to create puffy “snow” and winter art with your child using shaving cream, glue, and other materials!
What We’re Learning & Skills We’re Building
- Early chemistry – mixing glue and shaving cream together creates a thick, starchy foam that hardens as it dries
- Creativity – using your imagination to create open-ended art with shaving cream
- Sensory awareness – learning about shaving cream through the senses of touch and sight
- Color mixing – mixing 2 or more colors together to create a new color
(Note: Babies and toddlers may try to eat the shaving cream. Here is a recipe for taste-safe foam made from chickpeas.)
Materials
- Shaving cream (unscented is best)
- Cardstock, aluminum foil, or cardboard squares (construction paper is ok but will become soggy more quickly)
- Paintbrush, old toothbrush, or Q-tips
- Food coloring or liquid watercolor paints
- Liquid school glue
- Small bowls
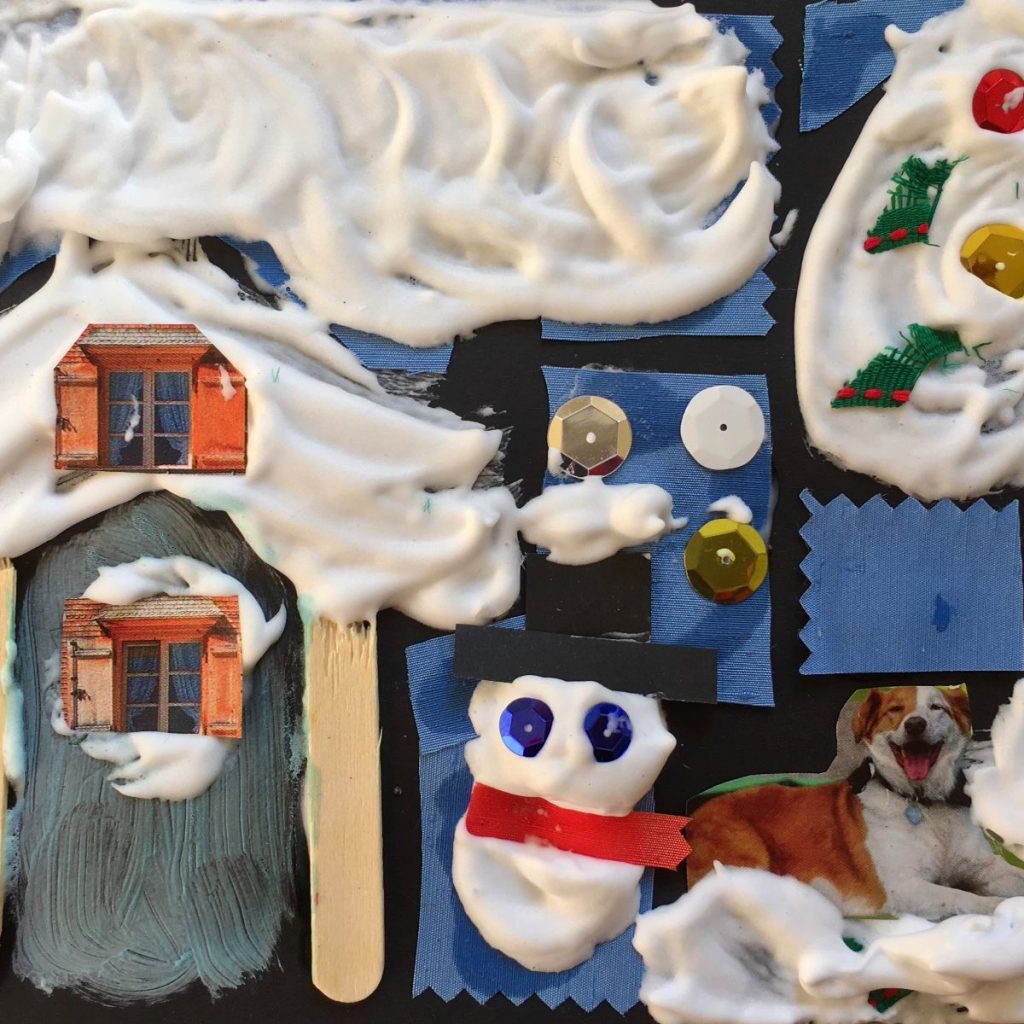
- Decorations: Pom poms, craft sticks, googly eyes, small bits of fabric or construction paper, biodegradable glitter, confetti, buttons, etc.
Exploring & Learning
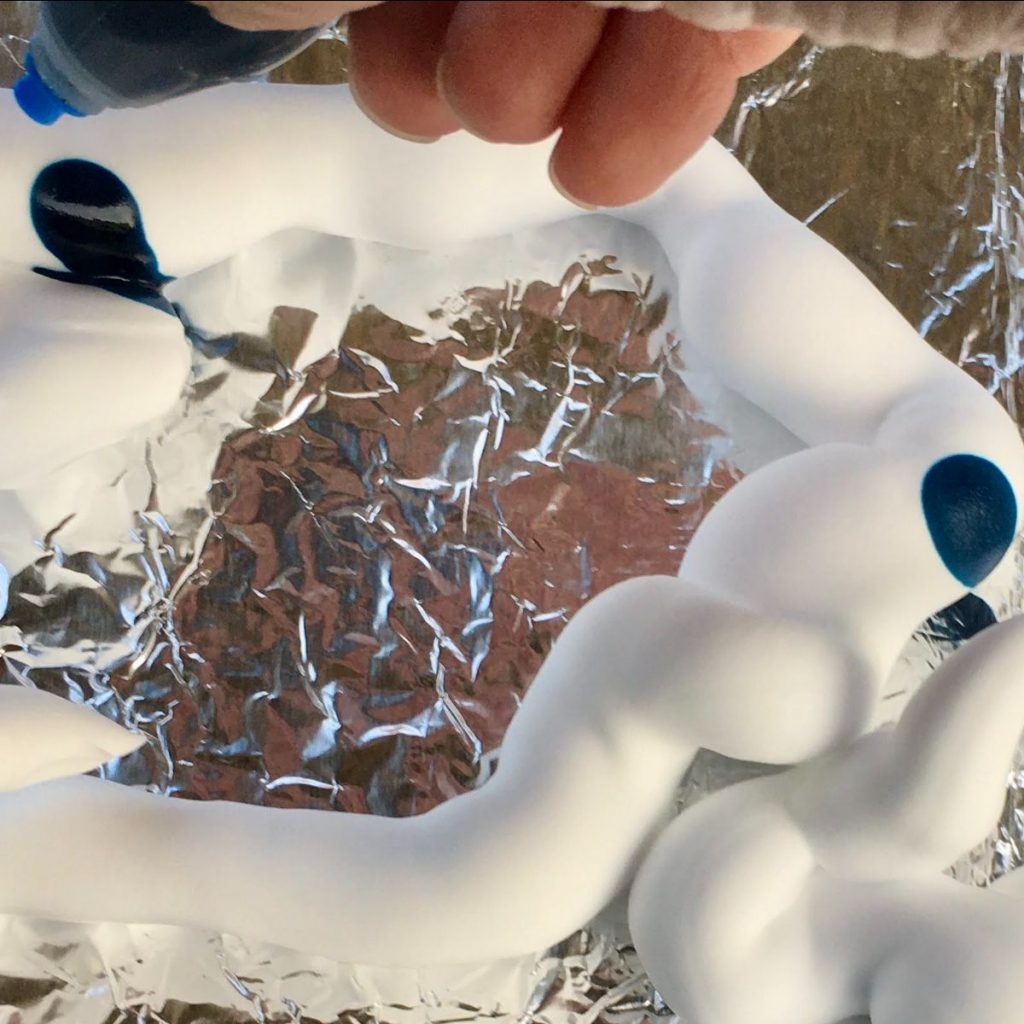
- Sensory Exploration: Squirt a dollop of shaving cream onto cardstock, aluminum foil, or cardboard. Invite your child to touch, hold, spread, smear, and play with the shaving cream. Ask, “How does the shaving cream feel on your hands?” (Note: The sensation of shaving cream on their hands might be new and uncomfortable. If that’s the case, offer your child a paintbrush, an old toothbrush, or Q-tips to move the shaving cream around.)
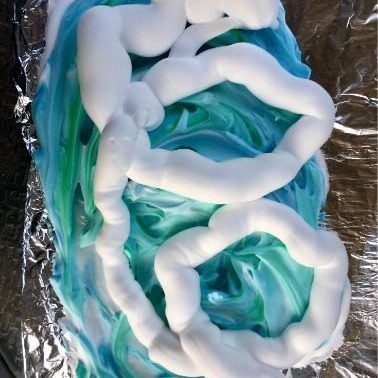
- Color Mixing: Have your child squeeze a few drops of food coloring or liquid watercolor paint onto the shaving cream and mix it in using a paintbrush or their own hands (note: food coloring can temporarily stain hands and permanently stain fabric). Start with one color, then mix in another or several others. This is a great way to practice color identification and color mixing! Ask, “What color appeared when you mixed blue and yellow together?”
Making Shaving Cream Art
- Preserving Shaving Cream Art: In a bowl, mix together a dollop of shaving cream and about 1 tbsp of liquid school glue using a paintbrush (food coloring or liquid watercolors can be added, too). Adding glue to the shaving cream creates a thick, starchy foam that dries harder on the paper, helping preserve the art for a longer period of time.
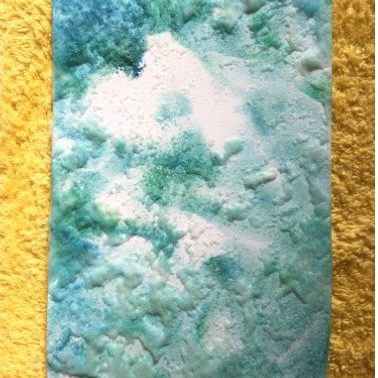
- Swirly Finger Paintings: Add a dollop of shaving cream onto a piece of cardstock and drop in some food coloring or liquid watercolor paints. Use your fingers and hands to make swirls.
- Marbled Prints: Add a dollop of already-colorful shaving cream to a piece of cardstock. (Optional) Add more food coloring or liquid watercolor paints. Then, press a blank piece of cardstock onto the colorful shaving cream. Lift it to reveal the marbled puffy print left behind!
- Decorating & Collaging: Paint the glue and shaving cream mixture onto a piece of cardstock. Then, stick on decorations like pom poms, craft sticks, googly eyes, and more to create wintry collage art!