
Making and handling dough is a creative and relaxing sensory play activity. Colorful, non-toxic playdough is simple to make at home using common household ingredients. This no-cook recipe doesn’t require cooking over heat, so it’s perfect for children of all ages.
What we’re learning and skills we’re building
- Sensory development – learning about textures using the sense of touch
- Measurement – using liquid and dry measuring cups for the correct amount of ingredients
- Learning about change – when mixed together, flour, salt, water, and oil form a new substance (squishy dough)
- Fine motor skills – using the small muscles in the hands to stir and knead dough
- Problem solving – finding the best way to knead the dough, and figuring out if more or less of an ingredient is needed
Safety: Please make sure children do not put playdough in their mouths or consume it. It is extremely salty!
Materials
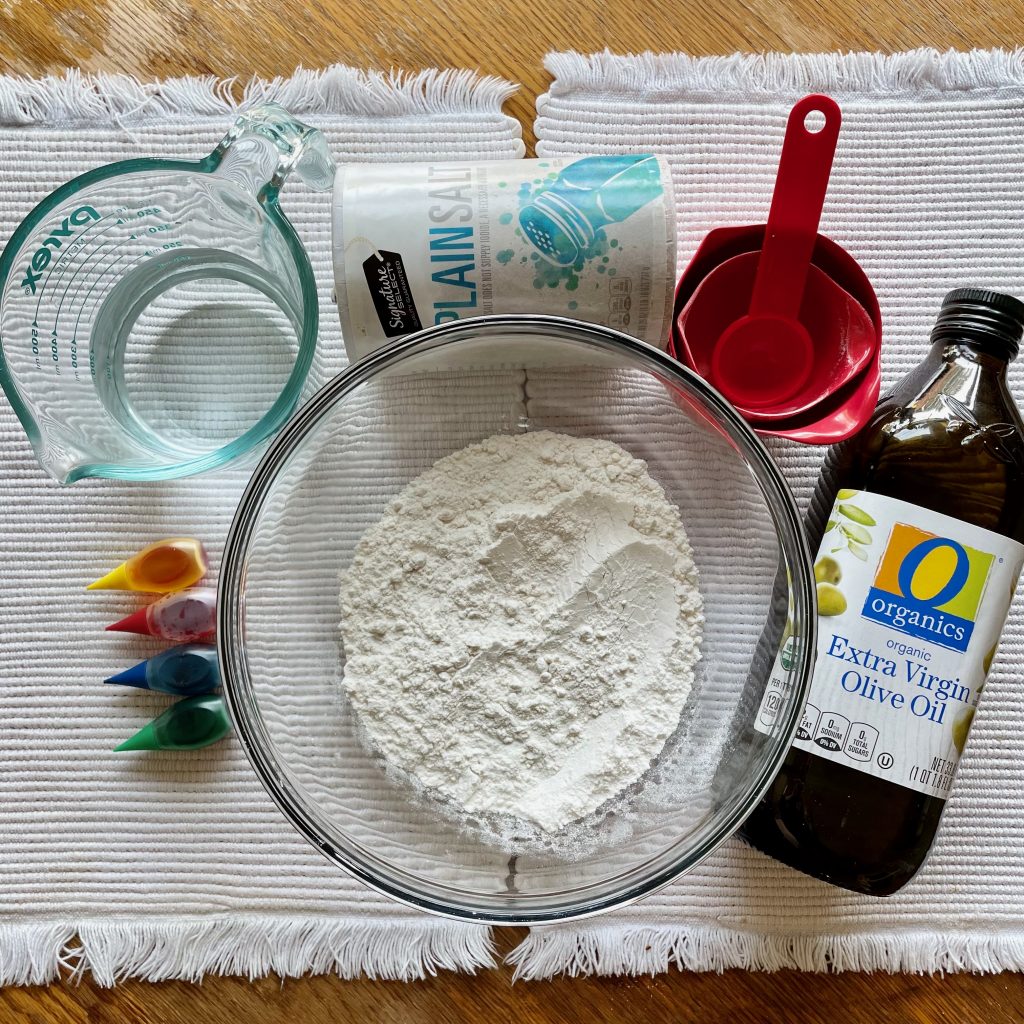
- 2 cups flour
- ½ cup table salt
- 1 cup warm water (warm/hot water helps dissolve the salt and relax the dough)
- 1 tbsp cooking oil
- Mixing bowl
- Spoon
- Food coloring or (non-toxic) liquid watercolor paint
Optional Materials
- Kitchen tools for play (rolling pins, child-safe cutlery, straws, plastic cups, biscuit/cookie cutters, potato masher, colander, garlic press, etc.)
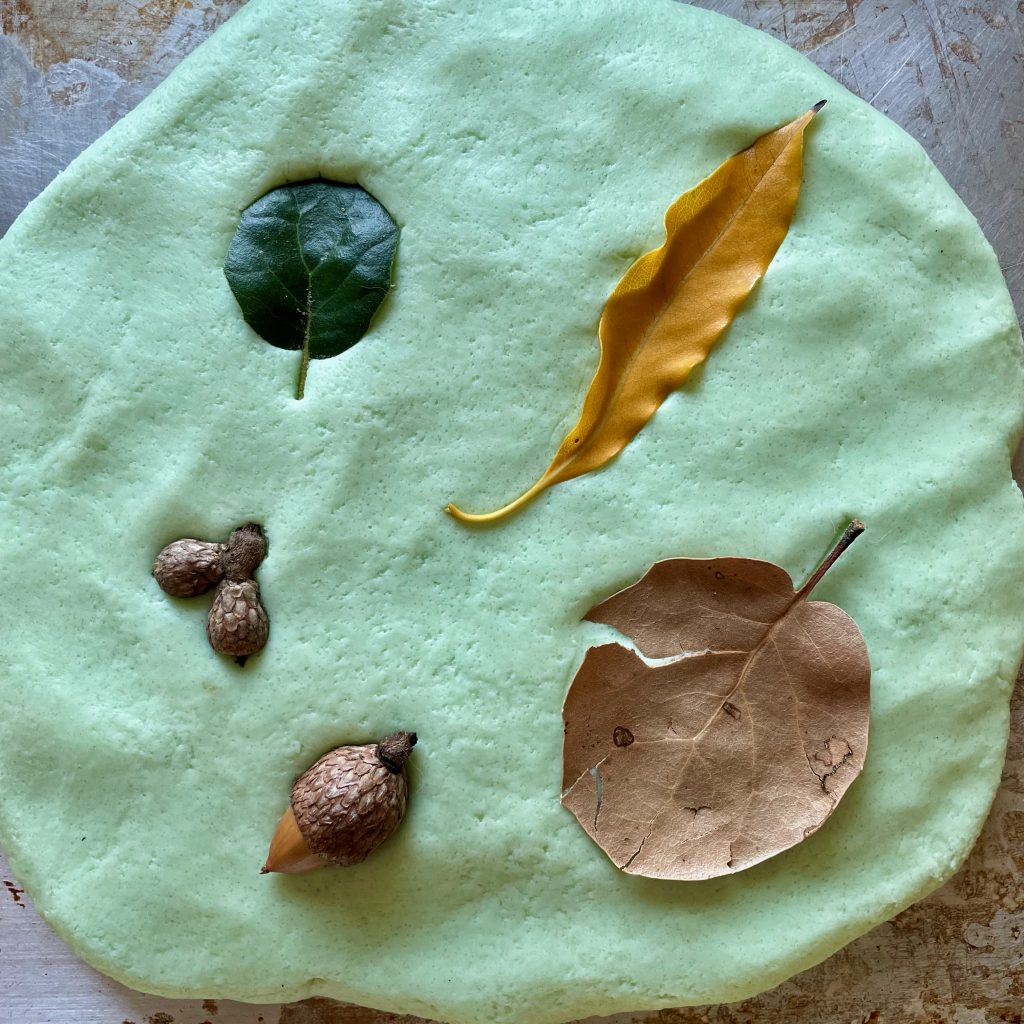
- Outdoor materials for play (leaves, rocks, flowers, shells, sticks, etc.)
- Toys for play (cars, trains, train tracks, dolls, plastic animals, etc.)
Instructions
- Combine flour and salt in a mixing bowl.
- Fill a liquid measuring cup with 1 cup of warm water. Stir 5-7 drops of food coloring or liquid watercolor paint into the water.
- Add the colored water to the dry ingredients.
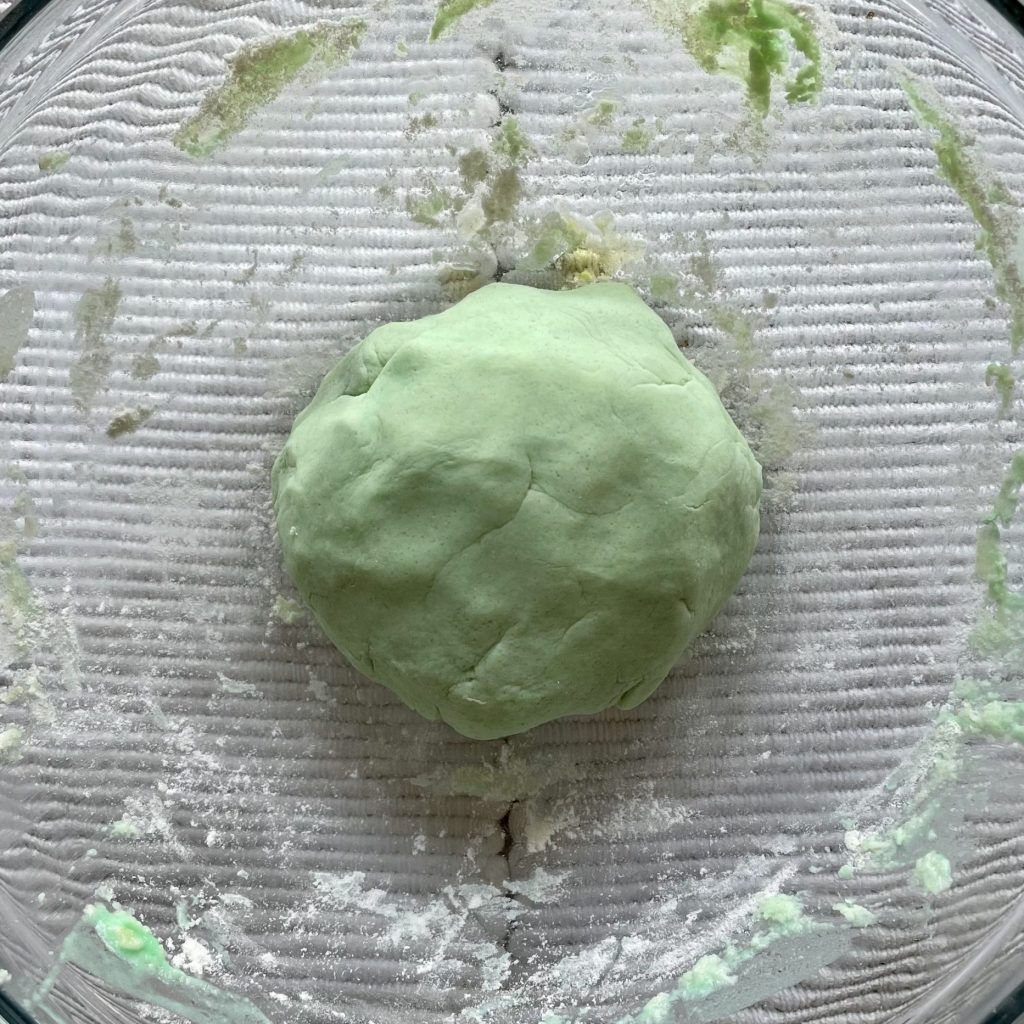
- Add the oil and knead the ingredients together in the bowl with your hands or a spoon until a ball of squishy dough forms. Start exploring and playing together!
- (Optional) If the color of the playdough is not vibrant enough, add 1 or 2 more drops of color. Note: Food coloring might temporarily stain hands!
- (Optional) A stand mixer with a dough hook can also be used to knead the dough.
Note: If the dough is too dry, add 1-2 tsps more warm water or 1 tsp more oil. The dough might be sticky at first, but wait a few minutes before adding more flour. If, after a few minutes, the dough is still too wet, sprinkle more flour on it and knead until it stops sticking to your hands.
Storage
The playdough will last for 3-4 weeks if stored in a sealed ziplock bag or Tupperware container in the refrigerator.
Let Your Child Discover
- Playdough is great for building, rolling, molding, cutting – you name it! Let your child explore playdough with unrestricted creativity using their hands.
- Introduce the safe kitchen tools (listed under Optional Materials) one at a time.
- Divide the batch in half and roll each half into a ball. Put one ball of dough in the freezer for 5-10 minutes. Microwave the other ball for 10 seconds. Take both balls of dough out and have your child feel both of them with their hands. Ask, “Which one is warm? Which one is cool? Are there are other ways the two balls of dough feel different? Do they look different from each other?”
- Your child can create patterns and impressions in the playdough using outdoor materials and toys (listed under Optional Materials.) Let the imprinted playdough dry in the sun.
- An older child can create shapes, figures, and structures with the playdough.
For super squishy playdough, try our classic recipe! This recipe involves cooking the ingredients on a stove, so adult participation is required.