
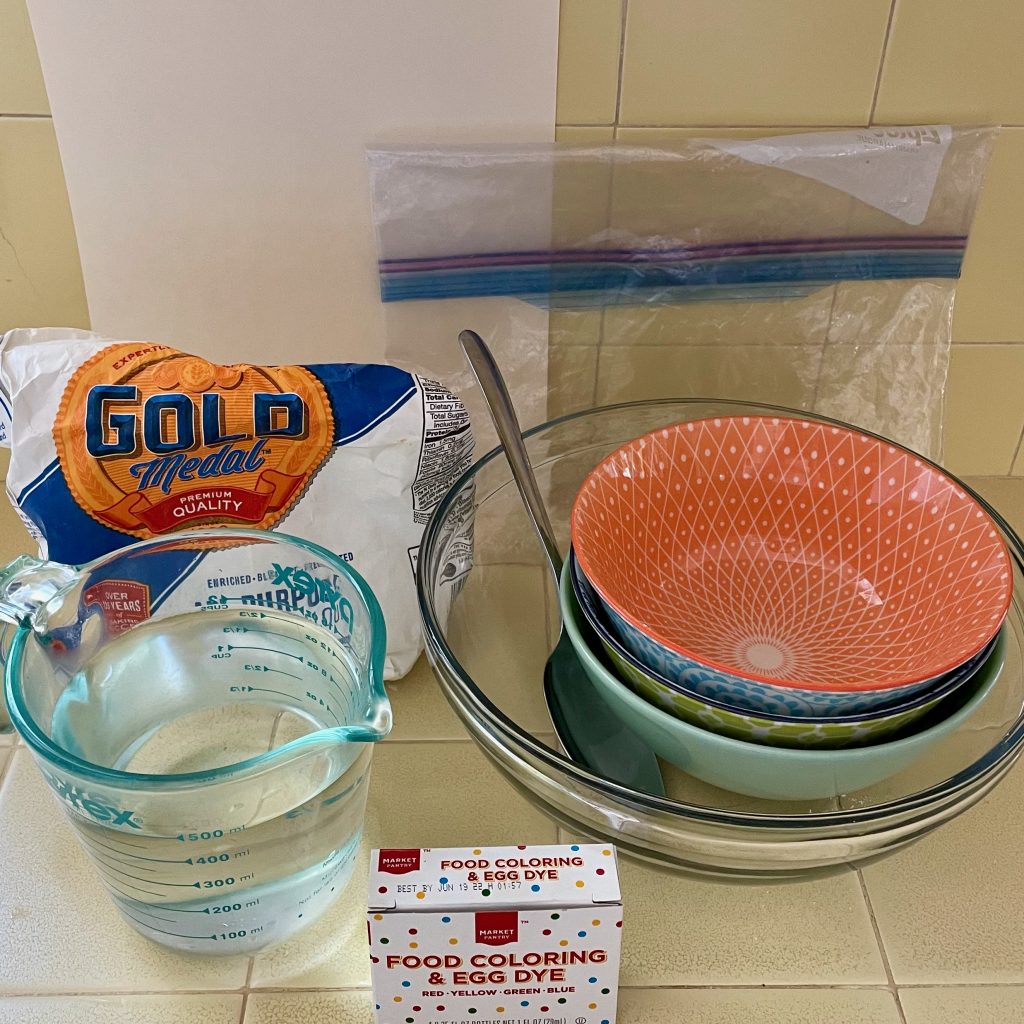
Materials for filling the sensory bag
- 1 cup flour (*see gluten-free alternatives below)
- 3/4 cup water
- 1 tablespoon salt
- Mixing bowl
- Small bowls or cups (depending on how many colors you make)
- Liquid watercolor paints, food coloring, or washable tempera paint
- Large spoon
Materials for assembling the bag
- Large Ziploc bag
- Cardstock or a piece of cardboard cut to the size of the bag
- Scissors (to be used by adults or older children)
- Masking tape or clear packing tape
- Tray or towels to work on
- (Optional) Small, smooth objects to move around inside of the bag such as buttons, googly eyes, smooth shells, and rocks
*Gluten-free alternatives: corn starch, corn flour, rice flour
Note: For a flour-free mixture, you can omit the water and mix shaving cream or hair gel with the colors. Or, just squeeze or pour tempera paint straight into the bag (the consistency will be much thinner).
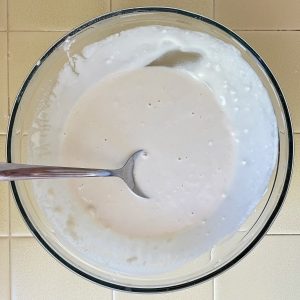
Creating the Filling Together
- In a mixing bowl, mix together the flour, salt, and warm water until it has the consistency of thick pancake batter. (Add more flour if it’s runny. Add more water if it’s clumpy.)
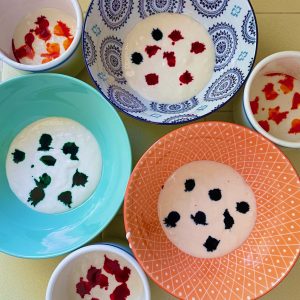
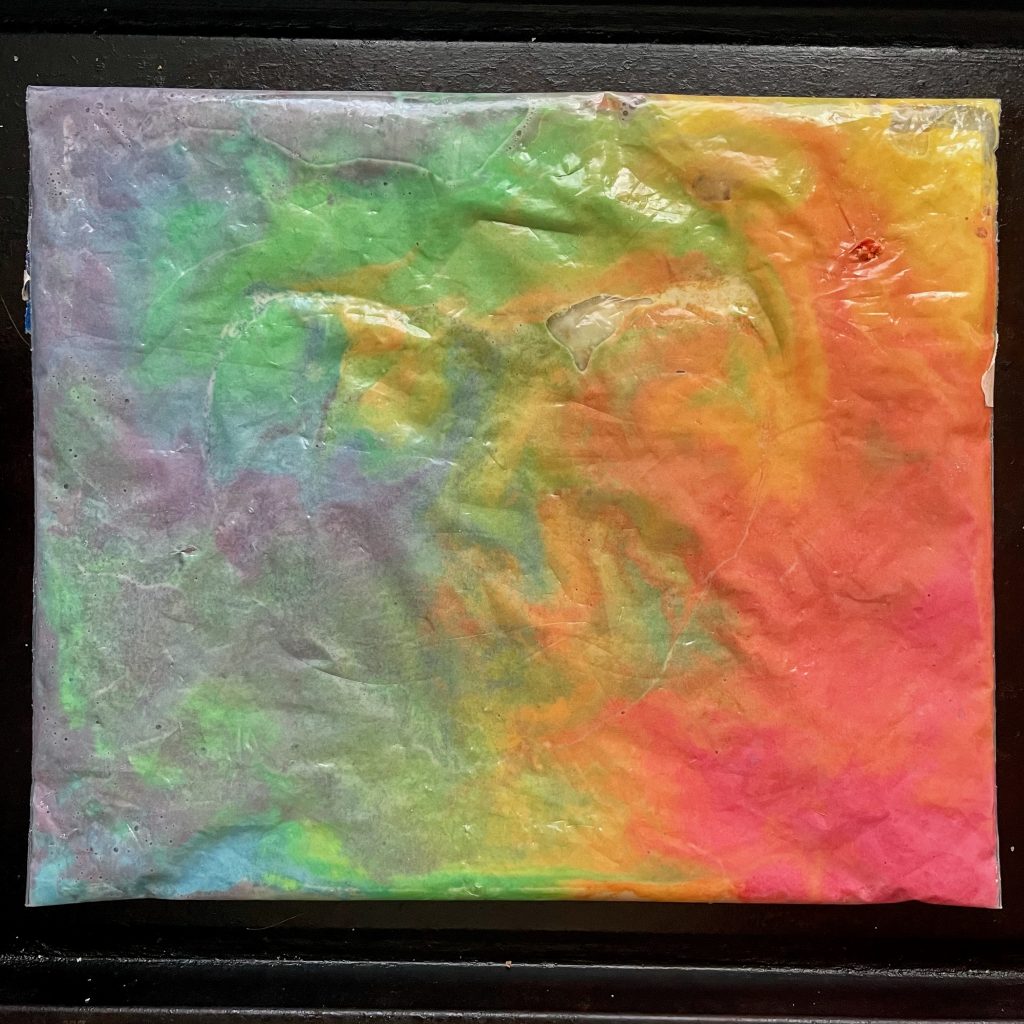
- With your child, decide how many colors you’re going to make. We made six colors of the rainbow — red, orange, yellow, green, blue, and purple – so we needed six bowls! Pour an equal amount of the mixture into each bowl.
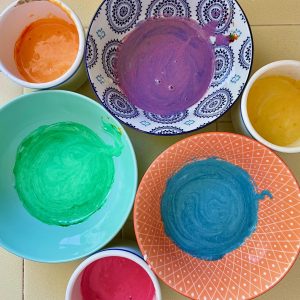
- Add a few drops of either liquid watercolor paints, food coloring, or washable tempera paint into each bowl. (About 9-10 drops, depending on how vivid you’d like the color to be.) Stir well. Note: liquid watercolors and food coloring might make the filling too thin. Add another tablespoon of flour to each bowl if this happens.
Assembling the Bag
Note: this part can get messy! We recommend working on top of a tray or a towel.
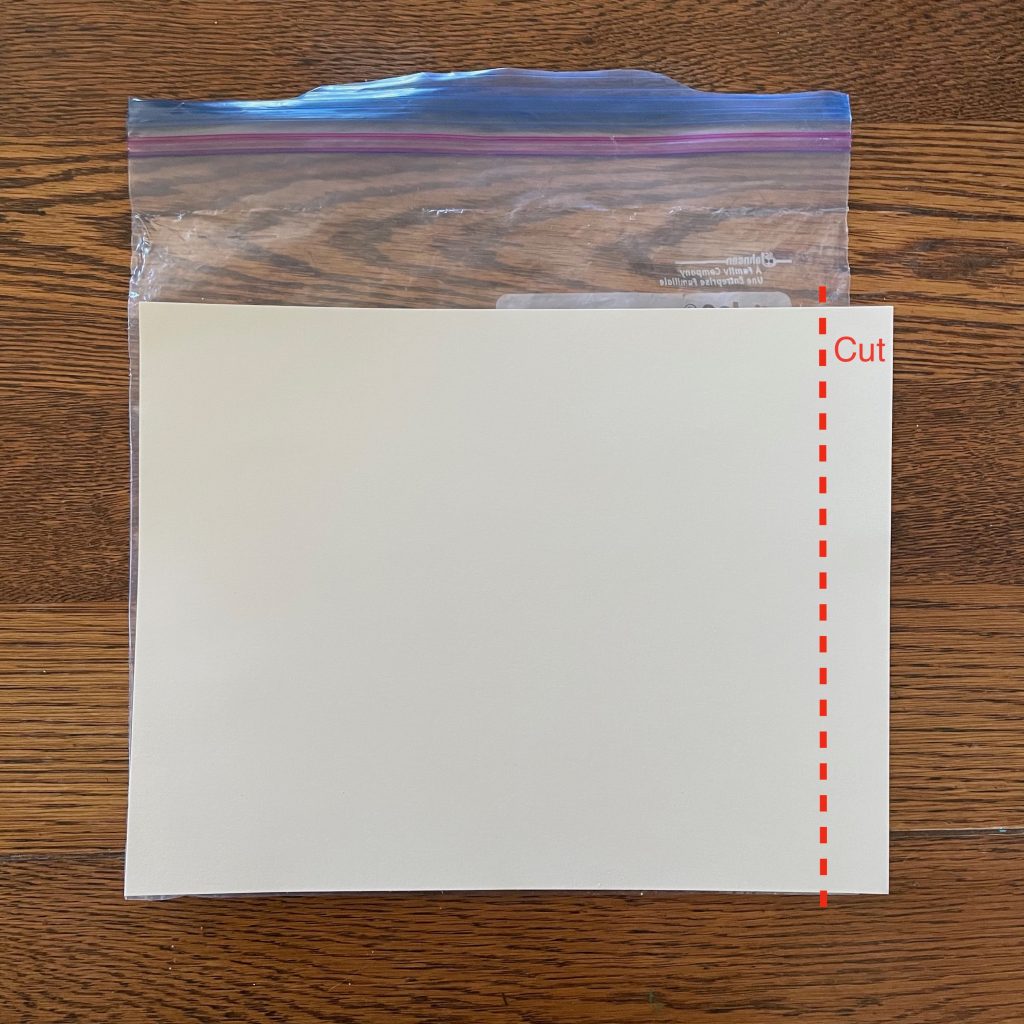
- (Adults or older children) Cut the cardstock or the cardboard so it fits inside the Ziploc bag. This will be the platform for the filling.
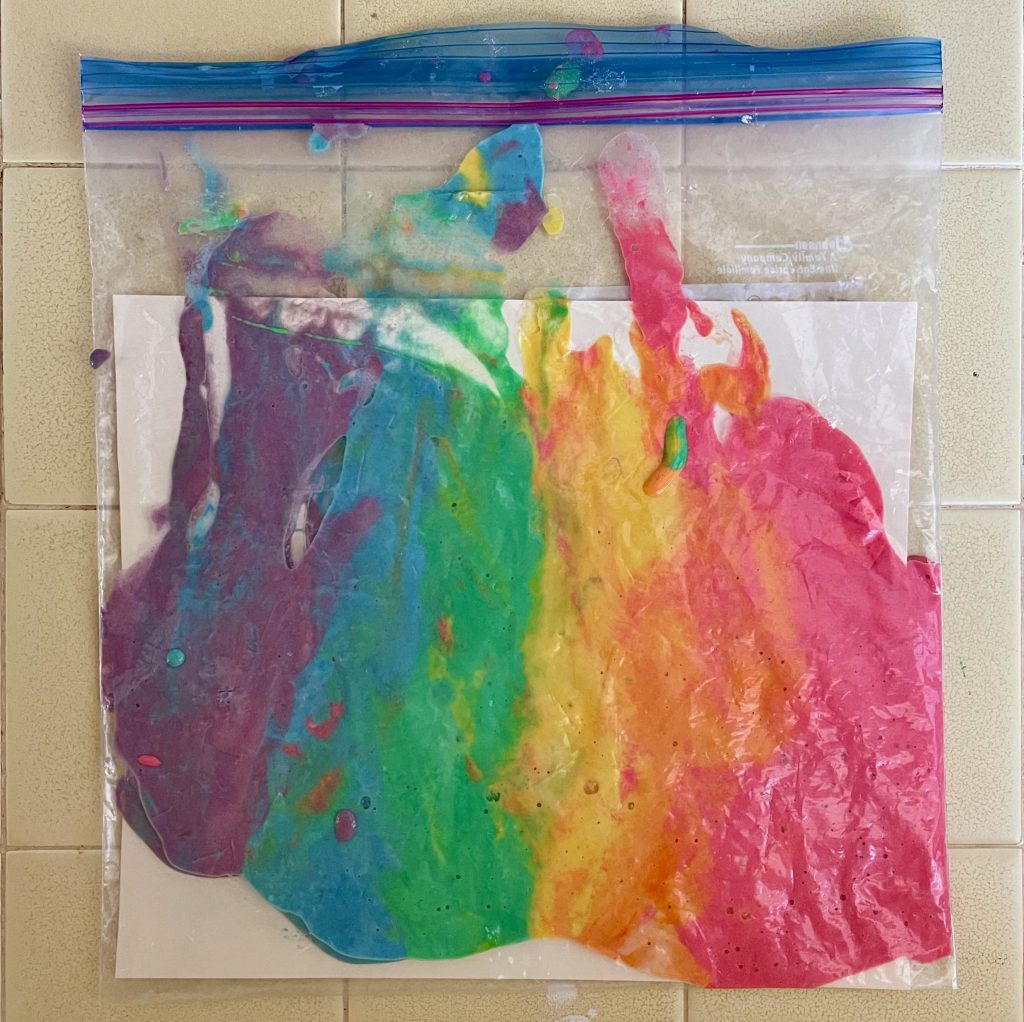
- Lay the bag flat on a tray or a towel. Now, have one person hold the bag open while another person uses a large spoon to scoop each color of filling into the back (bottom) of the bag.
- (Optional) Put small objects in the bag to add to your child’s sensory experience.
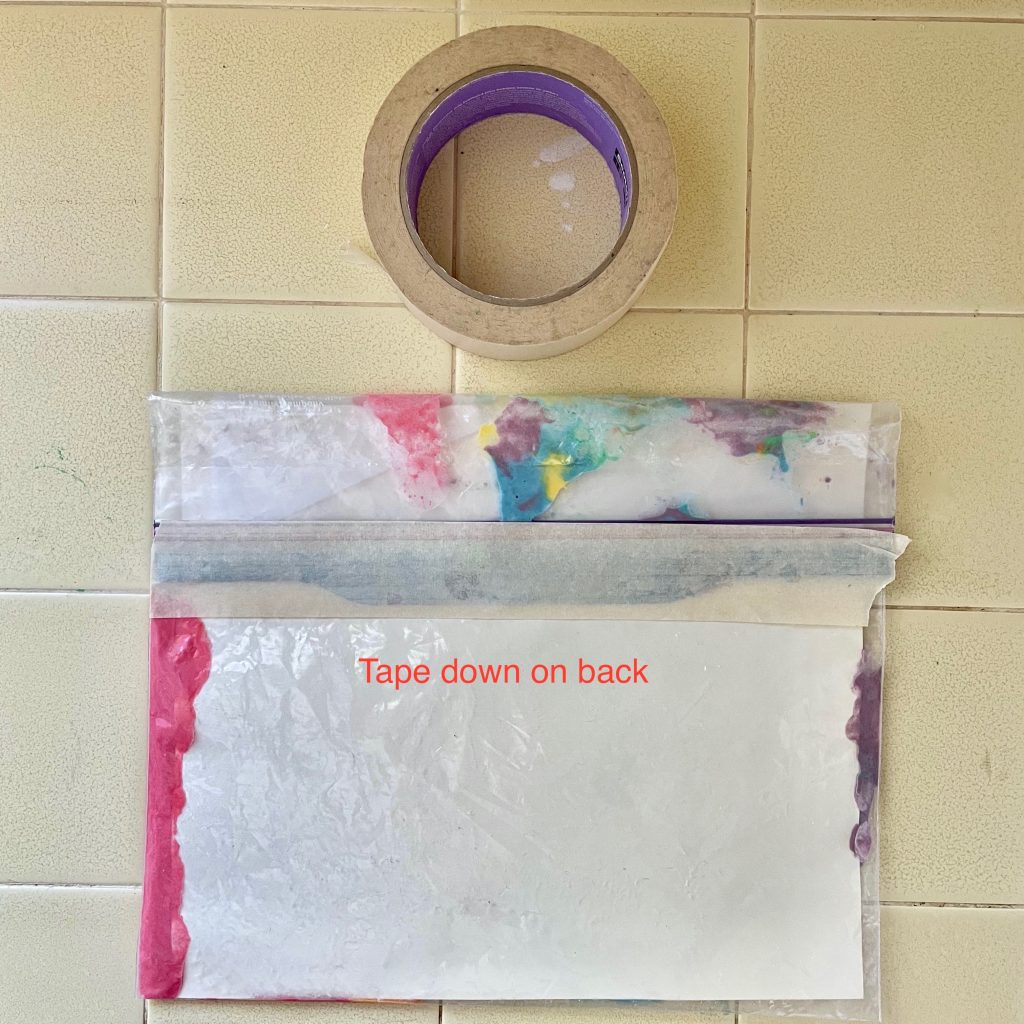
- Press the air out and seal the bag. Tape the zipper closed. If the cardstock or cardboard is smaller than the bag, fold the excess bag over to the opposite side and tape it there. This will keep the filling and any sensory objects on top of the cardstock/cardboard.
Sensory play — using the senses for exploration and discovery — helps foster physical and cognitive development in young children. In this activity, we’ll focus on touching, which helps children gain tactile awareness and learn vocabulary to describe the way things feel. This activity is a fun and appropriate option for infants and toddlers who might still be mouthing since all of the contents are sealed inside of the bag.
What we’re learning & skills we’re building
- Sensory learning – observing what it feels like on the hands (or the feet) to touch, squeeze, or mold the sensory bag
- Fine motor skills – using the small muscles in the hand to manipulate and draw on the outside of the bag
- Color mixing – mixing different colors together to make a new color
- Early science – observing the physical changes when dry flour (solid) and water (liquid) are mixed together
- Language acquisition – learning words to describe how something feels
Encourage Your Child’s Exploration
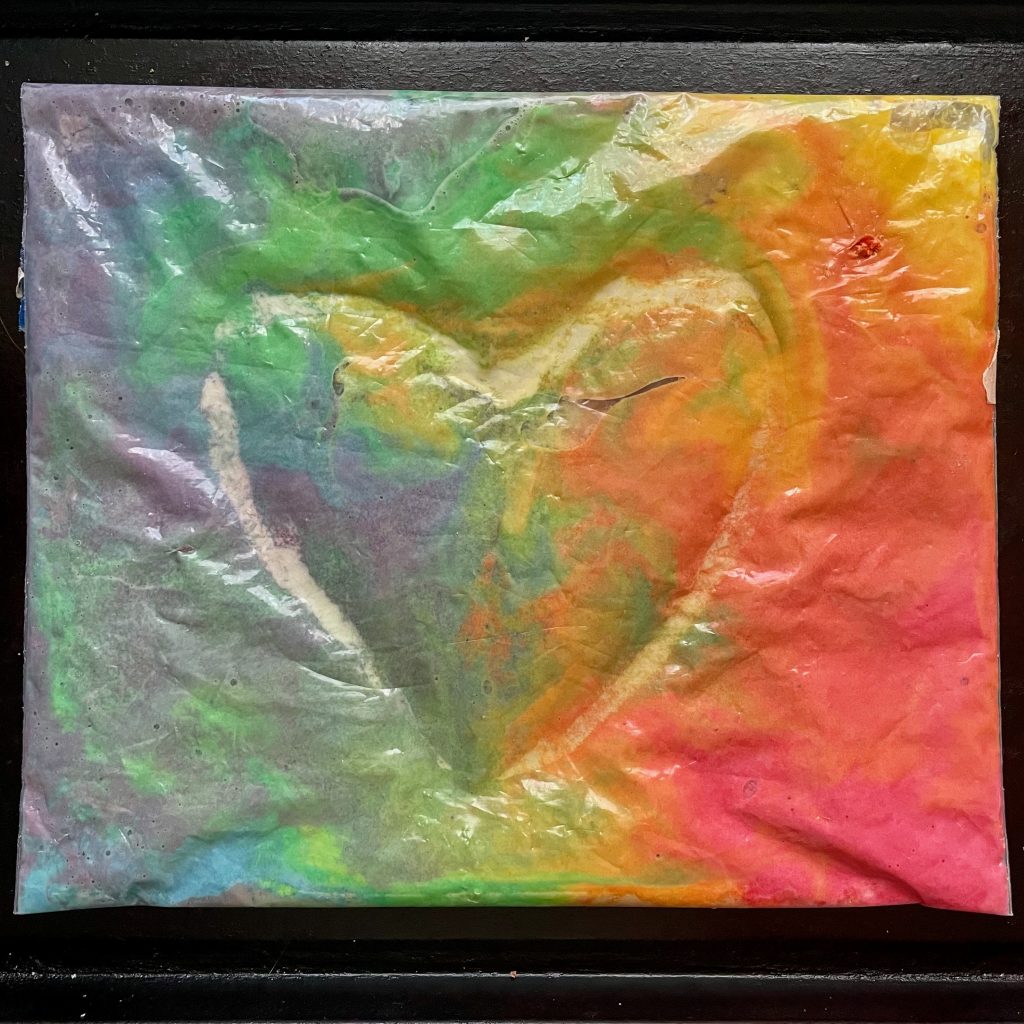
- Let your child use their fingers and hands to press on the outside of the bag to spread and move around the filling to cover the entire inside. Babies and toddlers can even use their toes and feet! This simple exploration can go on for a long time.
- For a young child, give them words to describe what the sensory bag feels like, such as “soft” and “squishy.” For an older child, let them tell you how it feels. Ask, “Does the sensory bag feel like anything else you’ve touched?” Or, give them new words to describe how the bag feels, such as “mushy,” “cushiony,” or “spongy.”
- Talk about the new colors appearing once your child starts squishing the filling.
- Encourage your child to create patterns in the colored filling such as swirls, squiggles, or stripes.
- Show your child how to draw shapes on the outside of the bag with their fingers or with the eraser tip of a pencil.
- If small items were added into the bag, encourage your child to find them by moving the filling around!
Storage: After exploring, you can reuse the bag for 2-3 more days by storing it in the refrigerator. Let the bag come to room temperature so it’s easy to manipulate. Discard after 3 days.
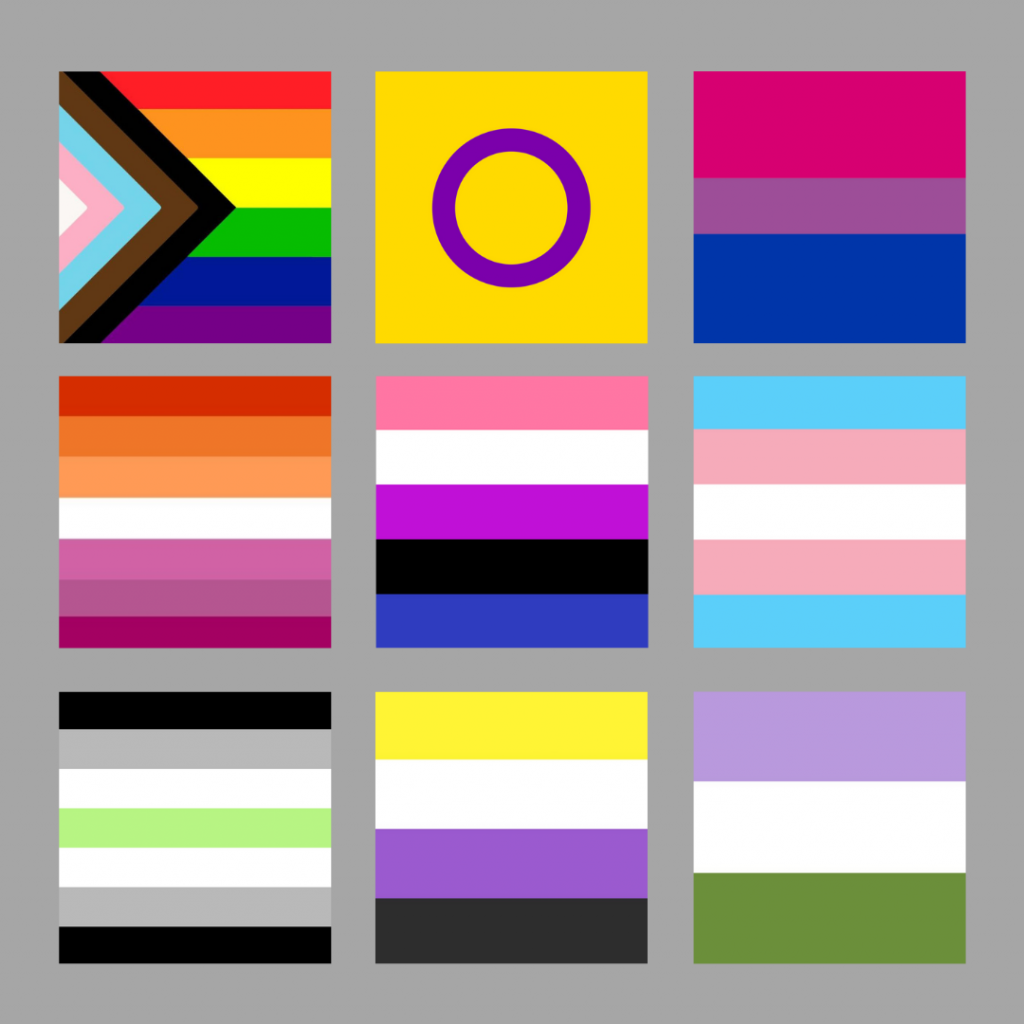
A Note about Rainbow-Themed Art
Every June in Habitot’s Art Studio we’ve created rainbow-themed art as part of our week-long “Rainbow Arts” Pride celebration. This year, we want to acknowledge that the traditional rainbow Pride flag, from which we’ve drawn inspiration for our art activities, doesn’t fully reflect the diversity of the LGBTQ+ community. There are many flags used by groups in the LGBTQ+ community that we’d like to highlight and include in our 2021 celebration! Check out this list of Pride flags and what they mean to specific communities. Happy Pride!
There are many more pride flags than are shown in this graphic.