
(Disclaimer: This page contains affiliate links. If you make a purchase from one of the links, Habitot will receive a small commission at no extra cost to you.)
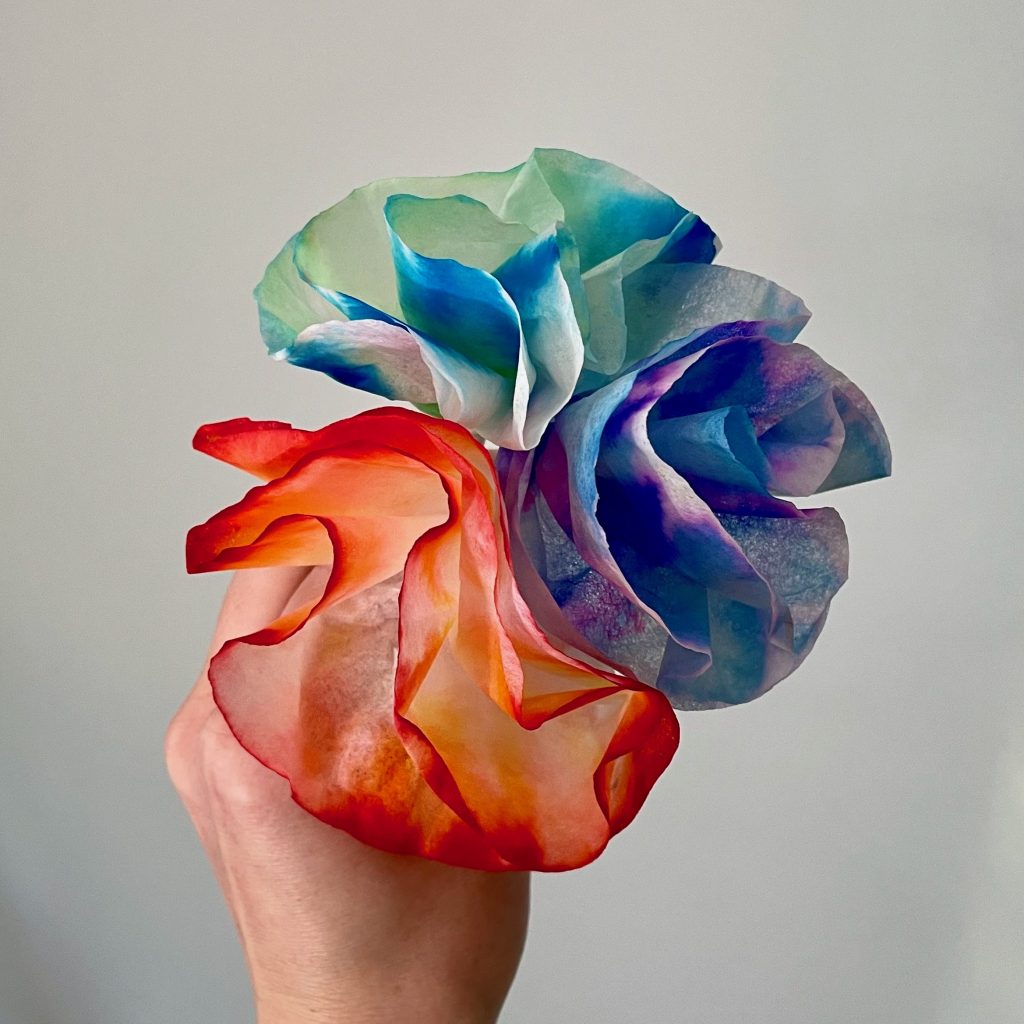
Mother’s Day is coming up on May 8th! In this artistic STEM activity, your child will create a beautiful gift while observing how water causes marker ink to spread, separate, and change on a coffee filter, a scientific process otherwise known as “paper chromatography.” Once the coffee filters dry, your child will then wrap them into paper flowers to create a colorful bouquet for Mom (or any person they love)!
What We’re Learning & Skills We’re Building
- Early science concepts – physical changes (mixing water and ink); absorption (ink and water seeping into the coffee filter); chromatography (see “More Learning” below)
- Experimentation – trying different kinds of markers to see the results
- Fine motor skills – using the small muscles in the hands to drip, pinch, and twist
- Color mixing – mixing colors to create new, different colors
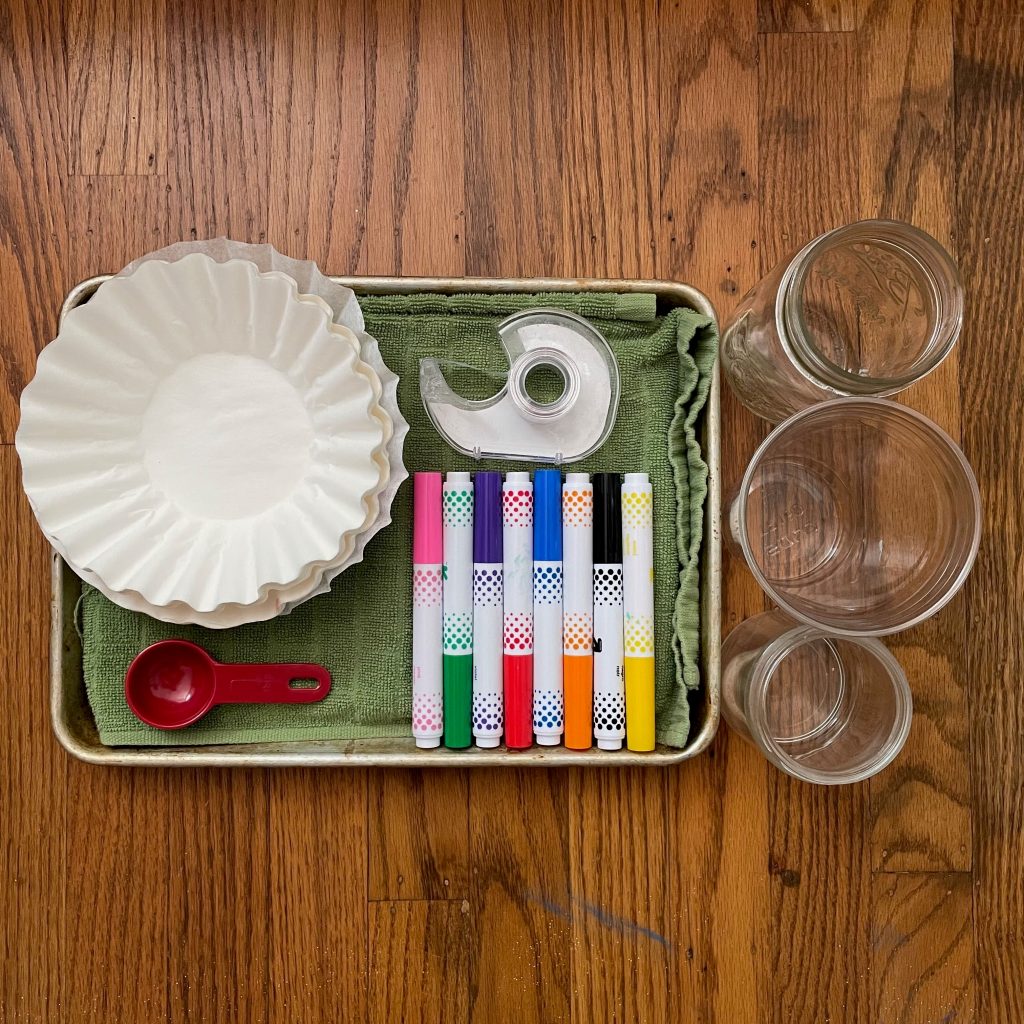
Materials
- Standard-size “basket” coffee filters or small cone coffee filters (alternatives: paper towels or tissue paper cut into circles)
- A variety of markers and ink pens
- Drinking cups or jars (clear is ideal)
- 2-4 tbsp water
- Art tray, cookie cooling tray, or plate(s)
- Dish towel or paper towels
- Scotch tape
Optional Materials
- Pipe cleaners
- Masking tape
- String (or yarn)
(Note: Cone coffee filters are thicker than basket coffee filters and may take longer to absorb water. Colors might be less vibrant if the filter paper is tan/brown.)
Directions
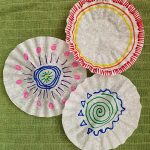
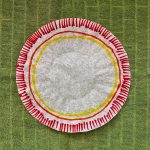
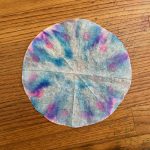
- Draw on top of the coffee filters with the markers. Make designs, draw shapes, or color them completely. Use a different color on each filter, or many colors on one. Draw close to the center, or only on the edges. This is the time to experiment!
- Set the filters aside to dry for a few minutes.
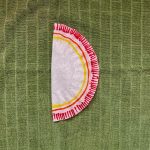
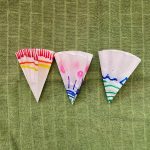
- When the coffee filters are dry, fold them in half 3 times (so they look like pizza slices).
Observe: Take note of what each coffee filter looks like when it’s dry. Older children can make predictions about how the colors and designs might change once the filters are placed in water.
- Pour about 2-4 tbsp (about a ½ inch) of water into each cup/jar.
- Place the pointy part of each of the folded coffee filters into the separate cups. Wait while the paper absorbs the water (about 5-15 minutes).
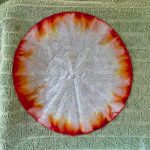
Observe: Watch as the water slowly creeps up the filters. Ask, “What happens to the colors when the water reaches the drawings? Do they spread? Do they move? Do they mix together? Do some colors disappear?” And if only one color was used, ask, “Do new colors appear?”
- Remove the filters from the cups one at a time. Carefully unfold them, then place each on the cookie cooling rack or tray/plate(s) lined with dish towels or paper towels. Let the filters dry completely (this may take up to 30 minutes).
- Once the filters are dry, ask, “Do the filters look the same as they did before we dipped them into water, or do they look different?” Point out the differences to young children. Older children can compare the results to their own predictions in step 2 above.
Making Flowers
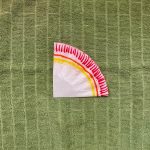
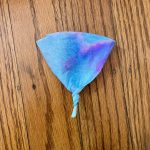
- Once the colorful coffee filters are fully dry, fold them in half 3 times (the same way as before, so they look like pizza slices).
- Pinch the middle of a folded coffee filter and twist the bottom half to make a stem.
- Wrap the twisted bottom half of the filter with a small piece of scotch tape (masking tape is fine, but it’s less sticky), or wrap a pipe cleaner around the twisted bottom half.
- Create petals by separating and spreading out the folds on the top half of the filter.
- (Optional) Stack two unfolded, dry coffee filters on top of each other and repeat steps 3-4 to create fluffier flowers with many petals. This might be easier for older children and adults.
- Place the flowers into a dry vase to give as a gift for Mom (or any person they love)! (Optional) Tape or tie many flowers to a string to create a flower garland.
(Note: Colorful coffee filters can be used to create other things, not just flowers. Check out this list of simple coffee filter crafts.)

Note: Colorful coffee filters can be used to create other things, not just flowers. Check out this list of simple coffee filter crafts.
More Learning
- What is chromatography? It’s a scientific process with a complex definition! In simple terms, it’s separating the components, or parts, of a mixture (marker ink) that’s been absorbed into/onto a material (coffee filter) by passing it through a solution (water). Chromatography can be used to measure how many components are in a mixture, and how much of each component there is.
- Marker Ink: There are many colors in any given marker’s ink, and chromatography can show us all the different colors (pigments) that make up just one marker color. For example, dipping a coffee filter that’s been colored with red marker into water might expose streaks of orange, yellow, and pink ink – all of these colors were mixed together to create the red ink!
- Experiment: Draw color on a coffee filter, then use a medicine dropper or pipette to drip water over the marker ink. Or, use a spray bottle to moisten the colored coffee filter. Black markers are fun and educational in chromatography activities because there are many colors that make up black ink. Check out this fun experiment!