
Create your own multi-color crayons using small, broken crayon pieces that are no longer easy to use for coloring. This is an ecological and cost-saving way to reuse, reduce, and recycle. STEM-wise, children can observe and learn about color mixing as well as changes in states of matter.
What We’re Learning & Skills We’re Building
- Sorting – systematically organizing the crayon bits according to their colors
- Color mixing – creating new colors by melting different colors of crayon bits together
- Hypothesizing – making educated guesses about what colors will appear when different colors of crayon bits are mixed together
- Observing/learning about changes in states of matter – when heated, the solid crayon bits melt into a liquid; when cooled, the liquid turns back into a solid
- Creative reuse – creating new crayons out of pieces that might’ve been thrown away
(Safety: Closely supervise children around the oven. Always use oven mitts to prevent burns!)
Materials
- Pieces of broken or short crayons (paper removed)
- Ziploc bags
- Meat tenderizer, wooden mallet, or rolling pin
- (Optional) Foil cupcake liners or Silicone muffin pans (paper cupcake liners are not recommended)
- Oven
- Oven mitts
Sorting, Prepping, and Thinking About Colors
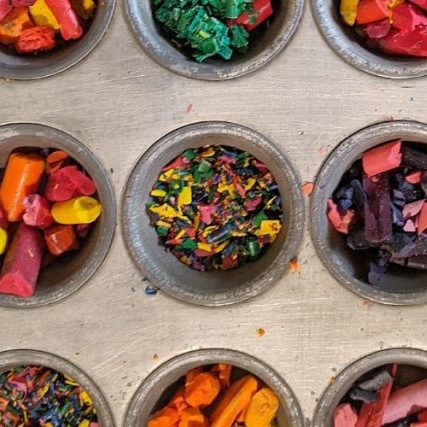
- Sort the crayon pieces by color. Pile red crayons together, blue crayons together, and so on. Put the color-sorted crayons in separate Ziploc bags, then break them up with a meat tenderizer, a mallet, or a rolling pin.
- Ask, “Where have you seen each color?” Point to objects that match the specific colors.
- Have your child choose which colors they’d like to add to each muffin cup (blue and yellow in one cup, red and blue in the next, for example). Hypothesize (make guesses) with them about what new colors might appear once the crayon bits melt and mix together.
Making the Crayons
- Preheat the oven to 200 degrees.
- Fill each muffin cup about halfway with the crushed crayon bits.
- Place the muffin pan in the oven and heat it until the pieces have melted together (about 20-25 mins), or leave the pan in for a shorter time (about 15-20 mins) if you’d like the various color bits to be more visible.
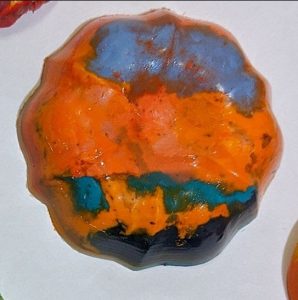
- Remove the pan from the oven and let the crayons cool. (To speed up the cooling and hardening processes, place the pan in the freezer for about 1 hour.) Show your child how the colors have melted and mixed. Ask, “What colors do you see? Were your predictions correct? What color mixtures are you surprised to see?”
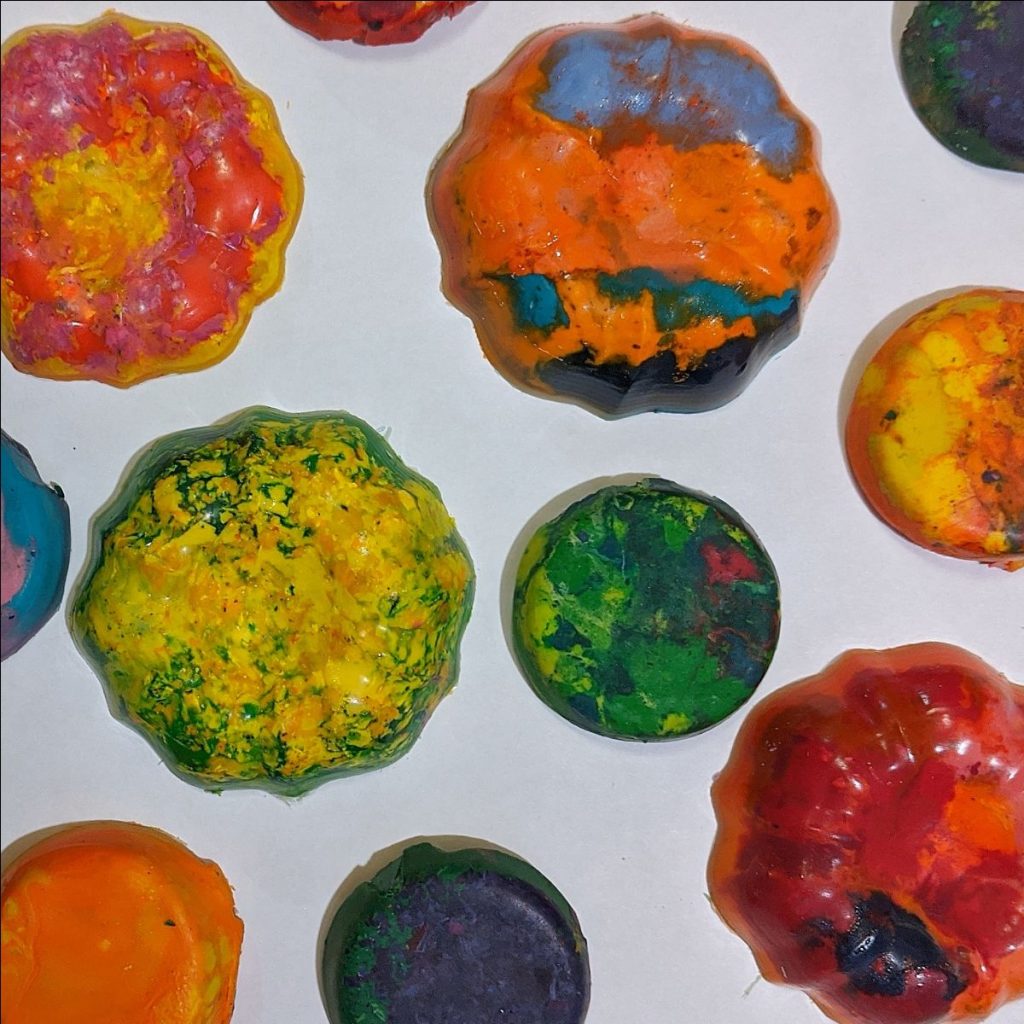
- Once the crayons are cool, gently remove them from the pan.
- Have fun with the new multi-color crayons! As your child draws with them, they may see many different colors in just one stroke.
Learning About Matter
- Point out how the crayon bits change throughout this activity. They start out as hard, solid objects that have their own shape. Then, when they’re in the oven, they become liquid and take the shape of the muffin cups. Once removed from the oven and cooled, they become solid again! What causes these changes?
- Scientists refer to these changes as “changes in states of matter” – in this case, the matter is the crayons and the states of matter are either solid or liquid. Temperature can affect the states of matter: the heat of the oven (200°F) is so high, it melts the solid crayons into a gooey liquid; when the melted crayons are left to cool at a lower temperature, they harden back into a solid state.
- Ask, “Can you think of other things that change from solid states to liquid states when they’re warmed up?” (Ice melting and changing into water is a great example.)