
Make a simple kite from common household items. Perfect for flying high on a breezy summer day!
What we’re learning & skills we’re building
- Aerodynamics – learning about the way air and wind move kites around
- Measurement – using a ruler to measure where to punch holes in the bag and also to measure the length of string
- Fine motor skills – using the small muscles in the hands to draw, punch holes, and hold the handle of a kite
- Comparison – observing how a kite flies when you’re standing still, then how it flies when you’re running; also, how it flies inside with no wind, then outside in the wind
- Creative expression – making individual decisions about how to decorate the kite
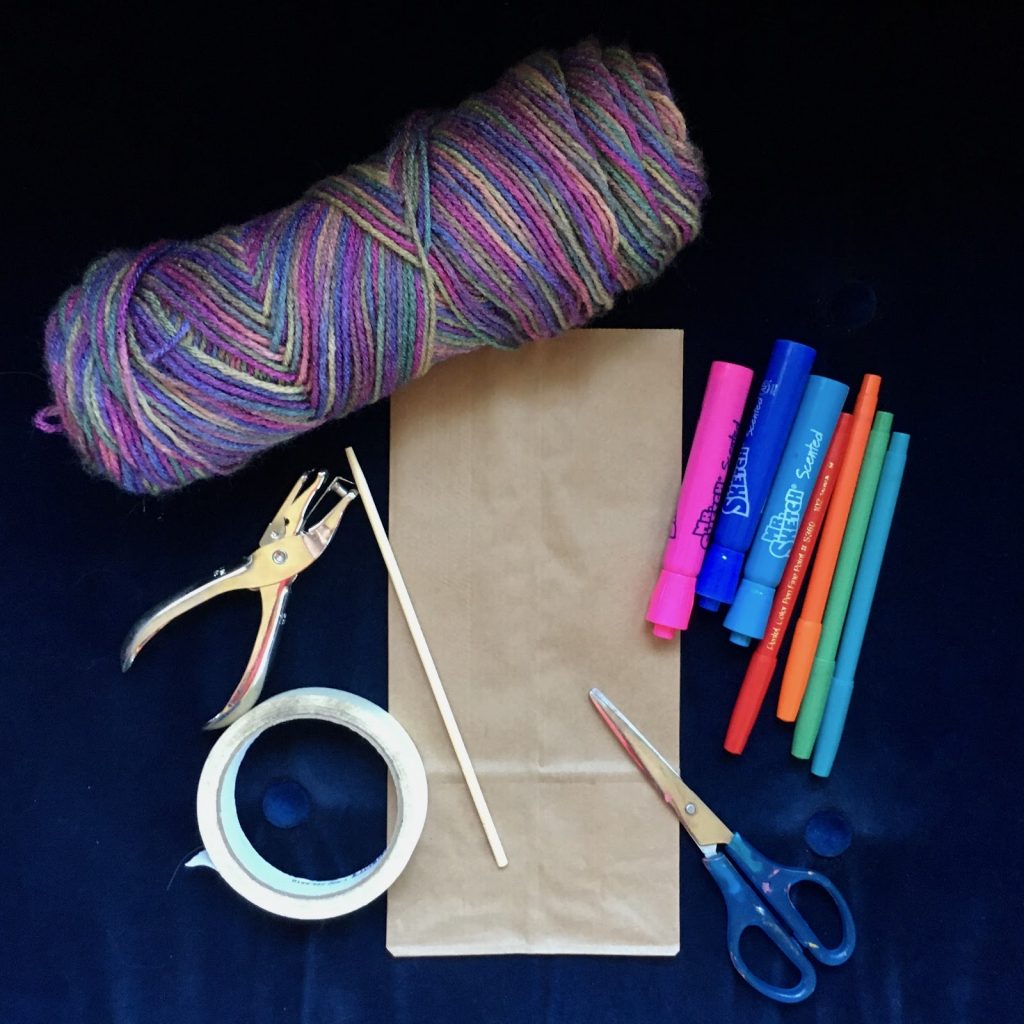
Materials
- Standard-size paper lunch bag
- Markers, crayons, or colored pencils
- Hole punch
- Yarn or string (or high-tensile strength, lightweight string for a high-flying kite)
- Child-safe scissors
- Tape (scotch or masking work best)
- Lightweight, decorative tails: crepe paper, yarn, thin pieces of paper, etc.
- Kite handle: chopstick, dowel, safe stick from outside, or craft stick
Optional Materials
- Washable tempera paint or poster paint
- Stickers
- School glue
Making the Kite Together
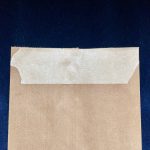
- Use two 3″-4″ pieces of scotch or masking tape to reinforce the outside open edges of both the front and the back of the bag (this will ensure that the bag doesn’t rip in the next step).
- With the bag closed, punch two holes about 4″ apart through the taped edges of the bag. (Note: you’ll be punching through two layers of the bag, so when it’s opened up, there’ll be four holes altogether.)
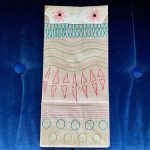
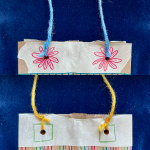
- Decorate the bag using markers, colored pencils, or crayons. Paint is ok to use – as long as the bag doesn’t get too heavy!

- Cut two 24″-30″ pieces of yarn or string. Tie one string to the holes on one side of the bag, and the other to the holes on the opposite side.
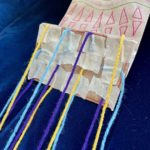
- Cut 10-15 pieces of crepe paper, yarn, or other long, thin pieces of light material (about 12″-15″ long) to create decorative “tails” for the kite.
- Close the bag. Use tape or glue to attach the tails to the small rectangle (that is, the bottom of the bag).
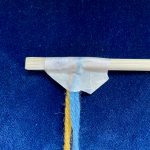
- Add a sturdy handle for your child to hold onto as they fly the kite by looping the strings (attached to the holes made in the open edges of the bag) around a chopstick or a popsicle stick. Use a 1″-2″ piece of tape to securely attach the yarn onto the stick.
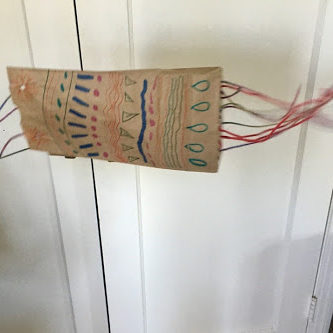
Flying the Kite Together
- Choose a safe outdoor spot to test the kite (a sidewalk with no driveways, an empty parking lot, or a neighborhood park, for example). Open up the bag and hold it aloft while your child holds the handle and starts running.
- On a breezy day, the kite may lift itself while your child is simply standing still and holding it aloft. The decorative tails help lift the kite and keep it steady! (If the kite wobbles a lot, try adding either longer tails or just more of them.)
- On a day that’s not windy, try playing with the kite indoors in front of a stand-up fan or beneath a ceiling fan.