Mix up delicious pumpkin bread with your little one. Baking is a fun way for your child to practice motor skills like measuring, scooping, and mixing. They’ll also be able to observe some early science concepts — the liquid batter transforms into a solid bread as it’s heated in the oven. This recipe is very forgiving, so your child can do a lot of the work and take pride in the result!
What We’re Learning & Skills We’re Building
- Measurement – using spoons and cups to add the correct amount of each ingredient to the batter
- Collaboration – working together with adults to safely bake delicious bread
- Observation – when heated in the oven, the liquid batter turns into a solid bread
- Following a recipe – learning the amounts of ingredients as well as the order and the timing for adding and mixing them
(Safety: Please supervise children around the oven and always use oven mitts!)
Ingredients & Tools
- Oven & oven mitts
- Loaf pan (or bundt pan) greased w/ oil or butter
- 2 mixing bowls
- Mixing spoons and/or spatulas
- 1¾ cups flour (gluten-free is fine as a 1:1 substitution)
- 1 tsp baking soda
- ¾ tsp salt
- ½ tsp cinnamon
- ½ tsp nutmeg
- 1½ cups sugar
- 1 cup canned pumpkin (about half the can)
- 2 eggs
- ½ cup oil
- ⅓ cup cool water
- ¾ cup chocolate chips (optional)
Making the Bread Together
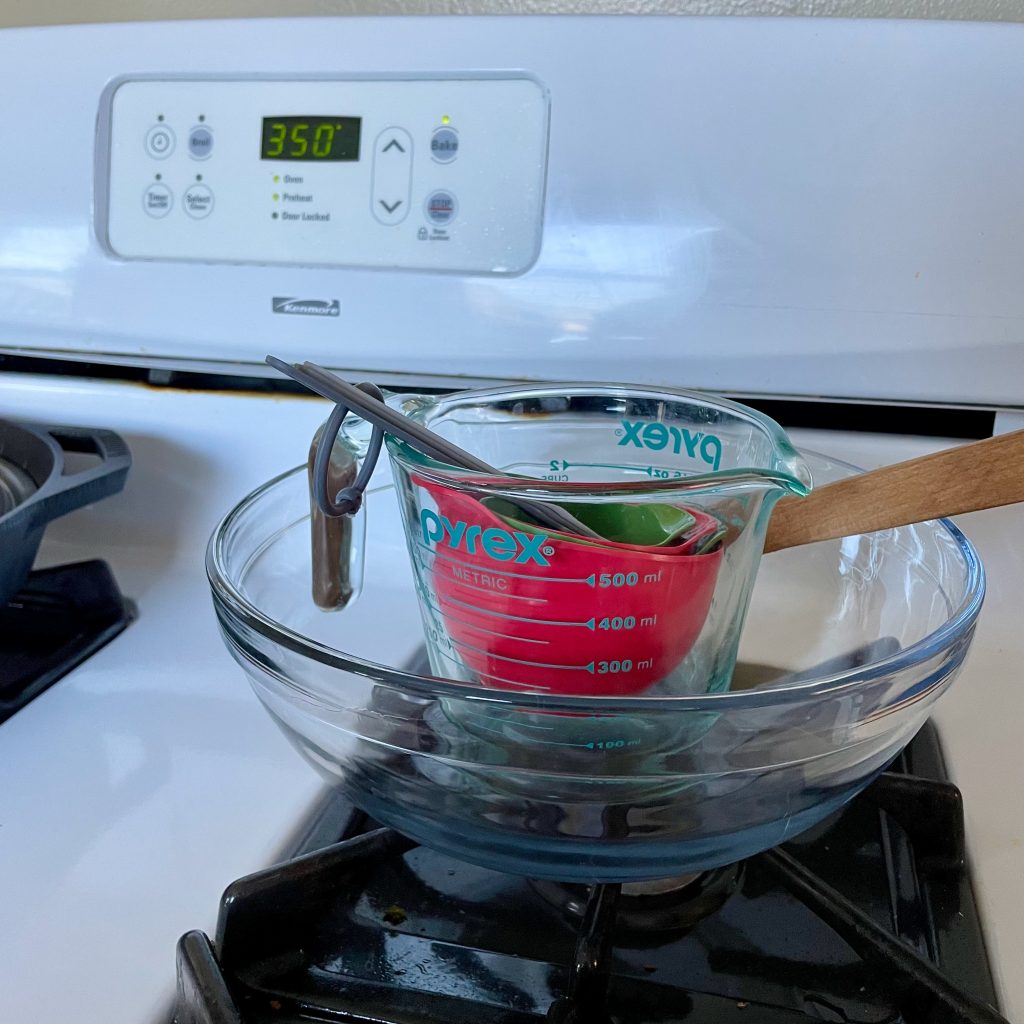
- Preheat the oven to 350 degrees.
- Grease a loaf or bundt pan with oil or butter.
- Measure out the dry ingredients (flour, baking soda, salt, cinnamon, and nutmeg) and pour them into one of the mixing bowls. Mix them together with a spoon.
- In the other mixing bowl, measure out the “wet” ingredients (sugar, pumpkin, eggs, oil, and water). Mix them together.
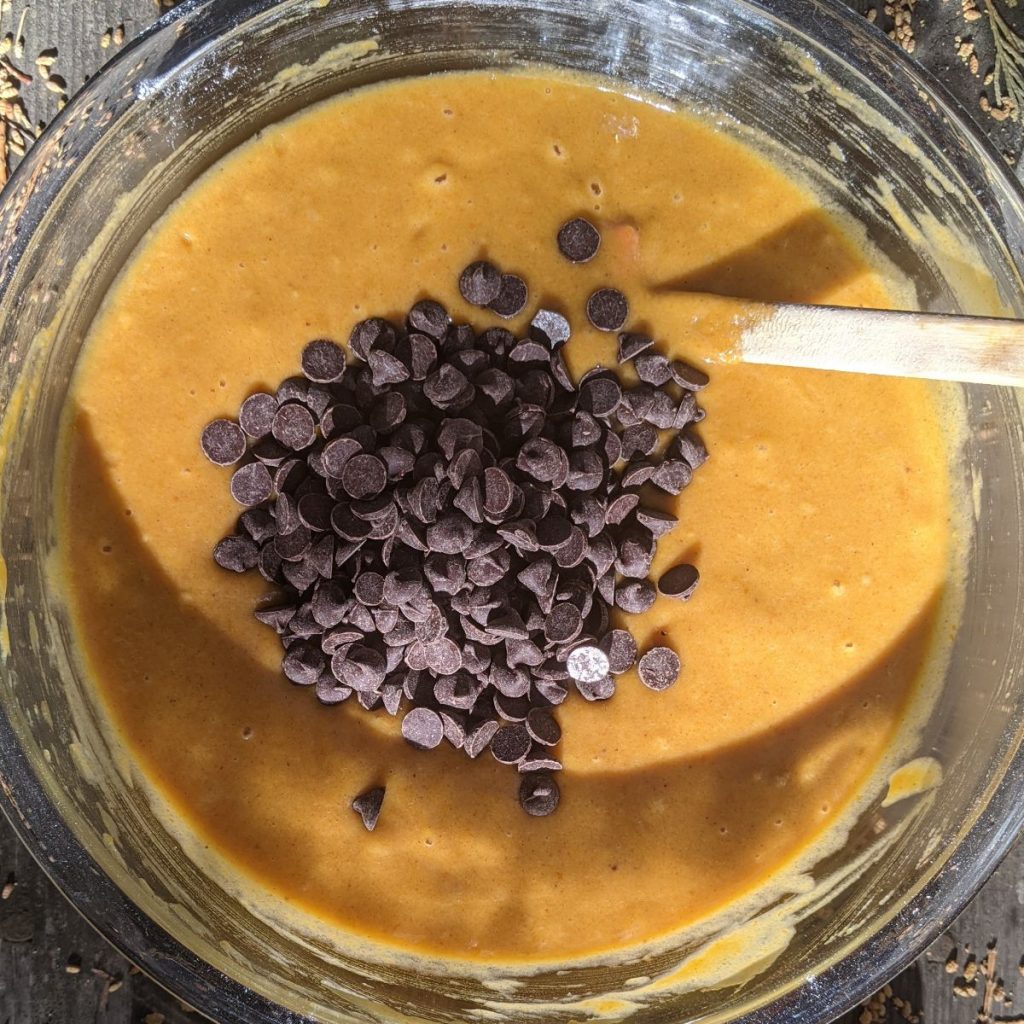
- Carefully pour the dry ingredients into the bowl of “wet” ingredients. Mix all the ingredients together until a well-combined batter is formed.
- (Optional) Add chocolate chips and mix until they’re evenly dispersed.
- Pour the batter into the greased pan.
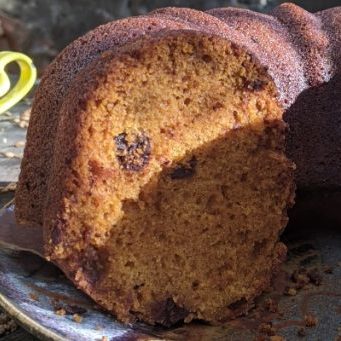
- Using oven mitts, place the pan in the oven. Bake it for 1 hour (or until a dull knife stuck in the center comes out clean).
- Let the bread cool. Enjoy!