
(Disclaimer: This page contains affiliate links. If you make a purchase from one of the links, Habitot will earn a small commission at no extra cost to you.)
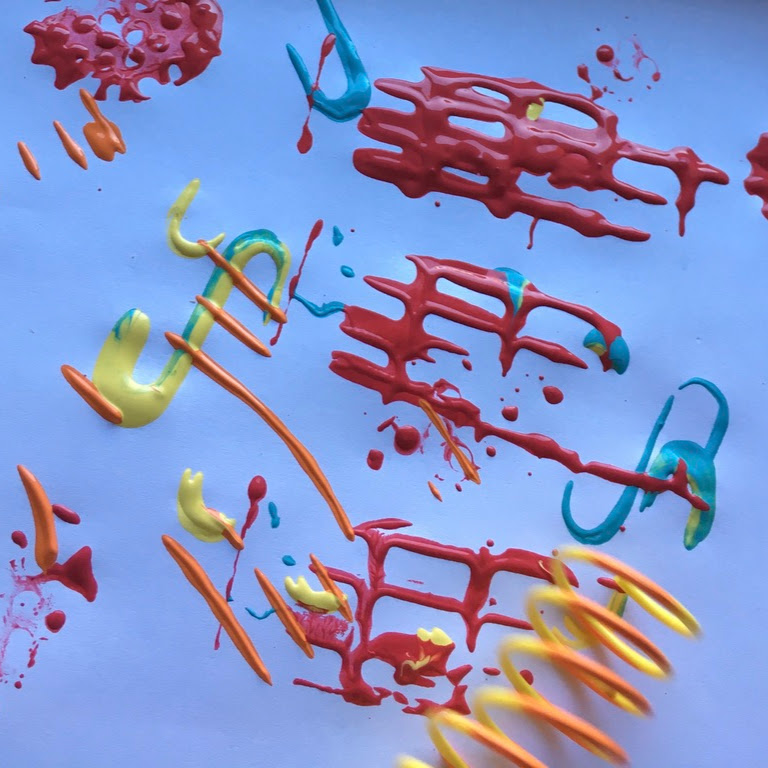
In this activity, your child will learn the concepts of printing and patterning with objects they use every day – three-dimensional objects to create two-dimensional, repeated images. The emphasis here is on the open-ended exploration of materials and the excitement of creating unique art.
What We’re Learning & Skills We’re Building
- Tool use – figuring out how to hold and use different tools (such as paintbrushes and kitchen utensils) to make patterns
- Experimentation – trying out a variety of tools in paint and seeing the different patterns they make
- Creativity – creating unique art from basic everyday materials
- Pattern recognition – seeing which objects create which patterns and figuring out how to continue making those patterns
Materials
- Paper (cardstock works best)
- Non-toxic washable paints
- Bowls or plates for paint
- Objects to stamp with (see Suggestions for Stamps section below)
- Art tray or baking sheet to work on top of
- Paintbrushes
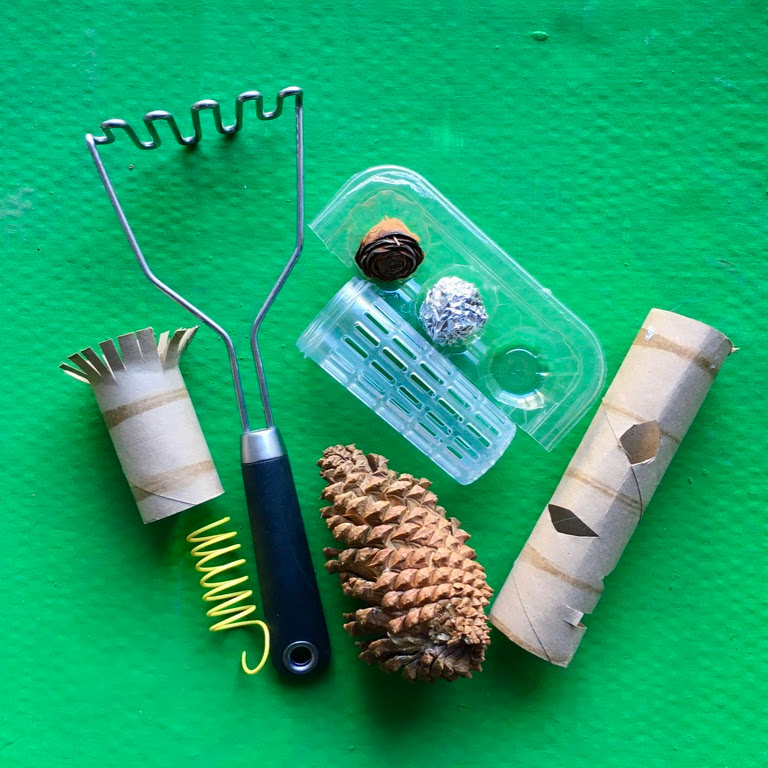
Suggestions for Stamps
- Recyclables: Cans, toilet paper rolls, paper towel rolls, egg cartons, jar lids, etc.
- Household items: Child-safe kitchen utensils (plastic & metal work best), berry baskets, foil or foil balls, springs, sponges, etc.
- Washable toys: Toy cars and wheels, doll hands and feet, marbles, ping pong balls, blocks (plastic, like Mega Blocks or Duplo), etc.
- Natural items: Pine cones, fern fronds, avocado skin, pineapple skin, stones, etc.
Making Prints and Patterns
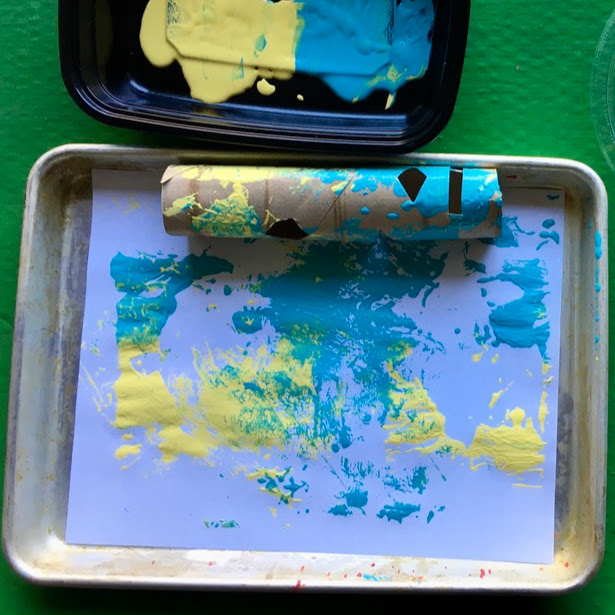
- Get set up by placing a piece of paper onto a tray or a baking sheet. Pour washable paints into shallow bowls or plates.
- Dip the objects into the paint. Or, spread the paint onto the objects using a paintbrush.
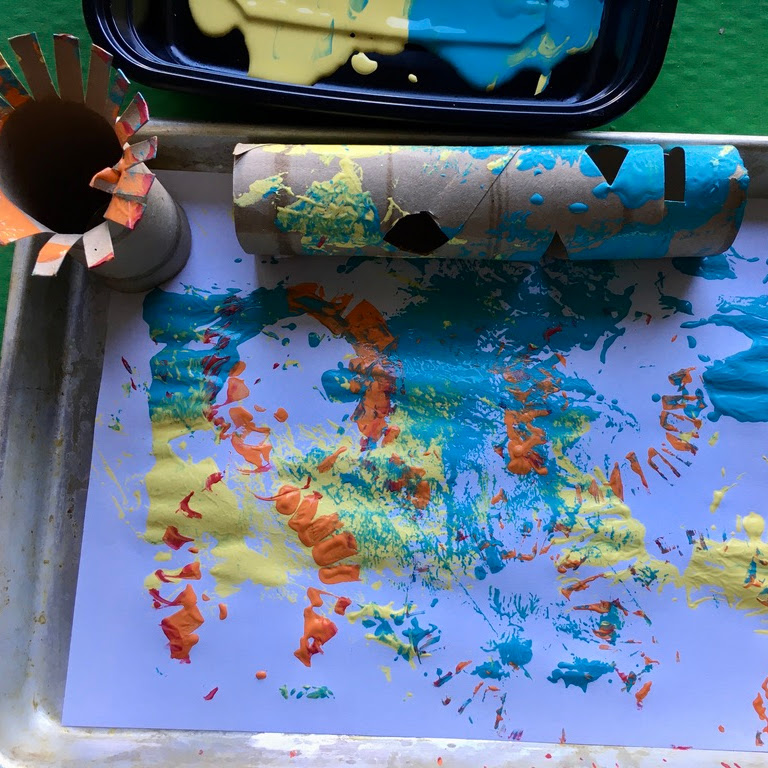
- Press the paint-covered objects onto the paper repeatedly to create patterns and images. Encourage your child to try rolling, brushing, and dropping items onto the paper to see what happens.
- Get a fresh piece of parer, wipe the paint off the paint-covered items (or not), then dip them into different colors and repeat the process!
- Place the papers on a flat surface to dry. Depending on how paint-saturated the papers are, they should dry in about 1-3 hours.
Cleanup: Washable paints should wash off plastic or metal objects easily with with soap and water. If the paint isn’t coming off, soak the object in a solution of warm water, dish soap, and a few drops of vinegar.
Further Exploration
- Practice developing vocabulary and language skills by talking about shapes, colors, and textures in the art. If your child is talking, ask, “Which objects create the most interesting prints and patterns? What does it feel like to use each item? Which items created patterns you weren’t expecting to see?”
- Older children can pick up the tray (that has the paint-covered objects on top of the paper) and move it around so the objects roll around. This works especially well with objects like toilet paper rolls, springs, and foil balls.
- Play a guessing game with your child. One of you closes your eyes while the other makes prints with an object, then places that object back with the others and says, “Open your eyes.” The one with the closed eyes opens them, looks at the prints, and guesses which object was used to make them.
- Babies and toddlers can create prints and patterns using their hands and feet. This is good for developing greater sensory awareness.